
If you are artistically inclined like me, you probably know this feeling: You are trying to sleep, but suddenly, an idea pops up. It tells you how to do something particular. It does not tell you what for. You fail at imagining what the result will look like. You wonder whether others have had the same idea before and whether you have already seen the results somewhere. Therefore, you need to try it out, preferably the next morning. This happened to me with the algorithm described on this page, and I still have not figured out whether it’s original because—in its essence—it’s relatively simple.
In reference to my previously developed algorithm “ClayGrinder,” I named it “JunkBlender” because, well … it blends junk. About 1,300 junk images I amassed over several days using Stable Diffusion. It doesn’t matter that the AI doesn’t know what an “orca face” looks like or how many legs a scorpion should have. More important is that the images are diverse in style, color, texture, and contents. Essentially, the algorithm uses one random junk image as a mask, reduces the number of colors down to only a handful, and replaces each color with another random junk image.
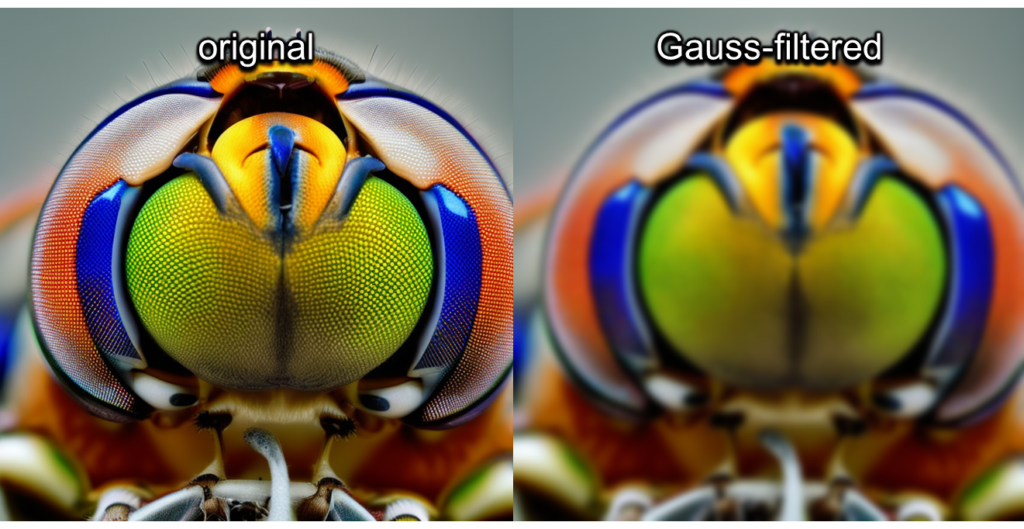
Of course, you might apply a number of different image processing operations along the way, some of which are optional based on random decision making for a greater variety of outputs. For example, I first allowed the mask image to be blurred using a Gauss filter, which you can see in action below. All the compound eyes of this cute insectoid are blurred into one.
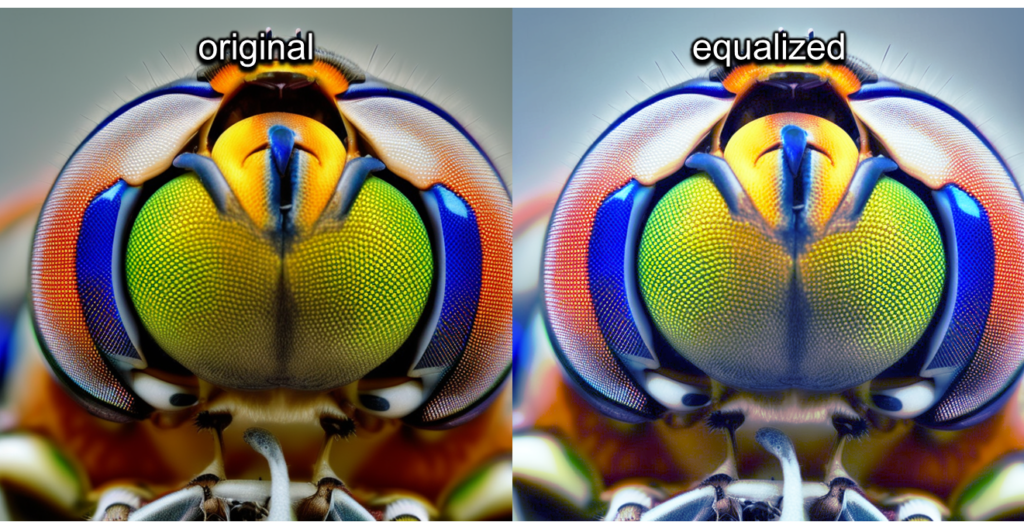
Next, the mask image may be equalized, which is a way of evenly spreading out the present colors across the entire range of possible colors. For example, if your image is mostly dark with only a few bright spots, it will be much brighter after equalization.
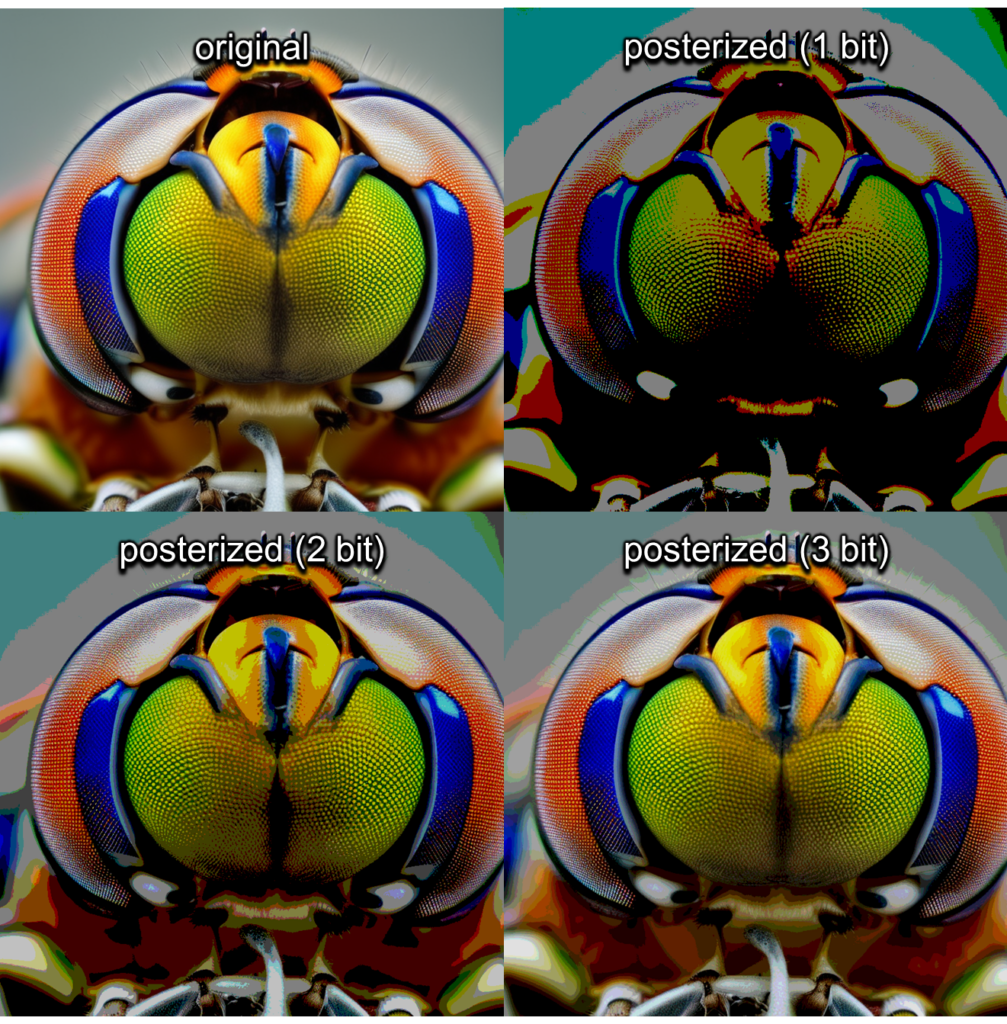
The true magic happens during the posterization step, which reduces the color depth in the image to either 2 or 3 bits (which is supposed to be 4 or 8 different colors, respectively). I don’t know whether Python’s Pillow module is messing with me because it looks like our cute compound-eyed friend below contains a lot more colors. Most likely, the bit depth applies to every separate RGB channel. However, it doesn’t matter as these parameters caused the outputs that I liked best. The posterization step is necessary because otherwise, the individual pieces of the collage would become too small to make out individually. Note how the posterization is especially apparent in the blurry/gradient background regions.
After the mask image was prepared accordingly, I let the algorithm select between 4 and 12 images at random for collage material. If there were more colors than images, I cycled through the images repeatedly using the modulo function, and vice versa.
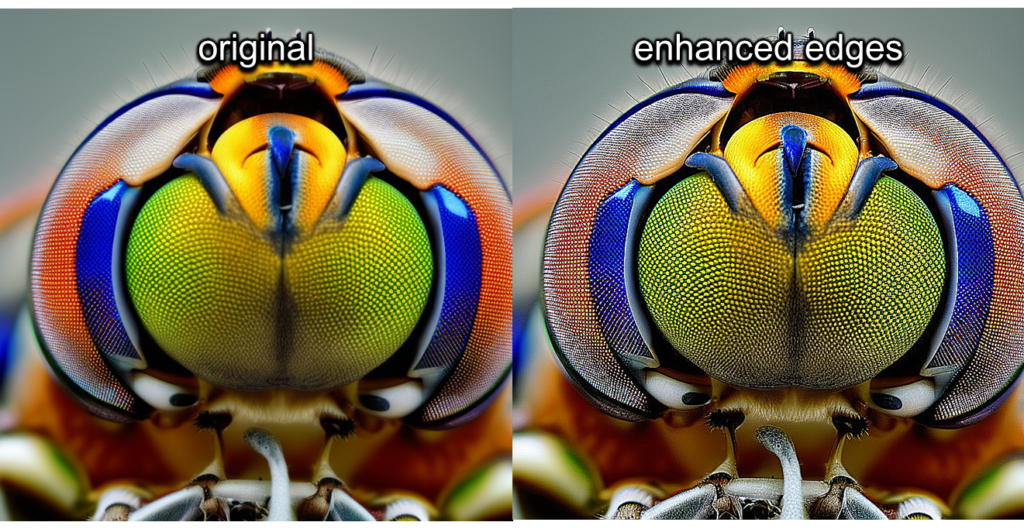
But before inserting these images as layers into the collage, they also received a number of random image processing operations, starting with the edge enhance. It emphasizes strong gradient transitions by making them brighter. I am unsure whether I like the effect, but in small quantities, they make for interesting layers.
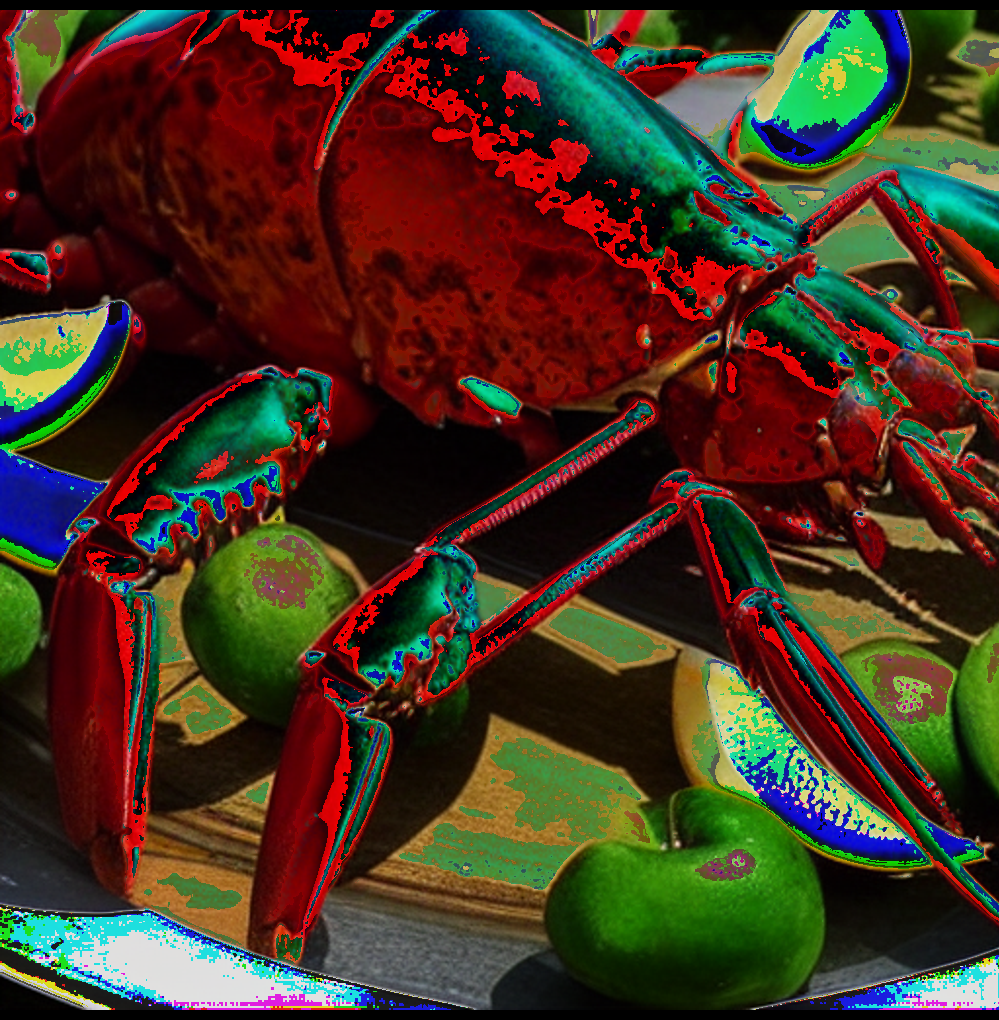
Additionally, a solarize effect is applied to some layers. Basically, it inverts all colors that are brighter than a certain random threshold, tendentially making the image darker.

For now, you have only seen the individual operations applied to a single input image. And trust me, you do not want to see all operations applied to a single image. Thus, let me replace our compound-eyed insectoid friend with an RGB lobster friend to show a typical combination of operations.
While I liked the first results because they proved a point, namely, that posterized images can be used as masks for collages, I felt that this was almost certainly done by someone else before. Something was still missing in terms of style. That’s why I added a functionality that I call “pixel bleed.” It inserts verticality and gives the collage a certain texture, making the stylistically different layers match much better.
In short, while going through the columns of the image, each pixel is extended to the ones below until either a layer boundary is reached, or a five-sided coin flip turns up tails. Then, a new pixel is chosen. Simultaneously, the pixel becomes more transparent with each step. Refer to our RGB lobster below to see the effect.
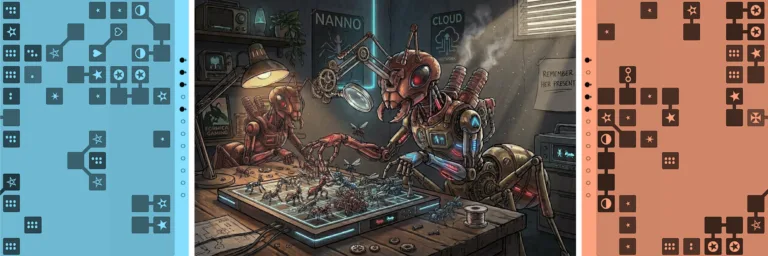
After introducing the bleeding pixels, I had fun for a couple of days fine-tuning parameters, creating collages, and generating more junk to feed the algorithm with. Whatever came to my mind #nofilter. Therefore, JunkBlender may contain traces of spiders, snails, bugs, brains, cells, signs, sponges, spirals, eyes, crustaceans, amphibians, worms, roaches, eagles, teeth, pianos, zebras, fish, sea urchins, shrimps, whales, pigs, airplanes, war machinery, skulls, organs, hedgehogs, badgers, brass, trains, cars, clocks, coins, clowns, cacti, crucifixes, circuits, trypophobia holes, dachshunds, Egyptian tapestry, gravel, meat, mountains, mushrooms, sci-fi helmets, steampunk garments, impossible machines, wire mesh, chains, and women, especially of the nude and/or pregnant variety. In other words: peculiar animals, dead metal, things that people can develop phobias for, and NSFW stuff. You can see a small subset in the screenshot below to get the idea.
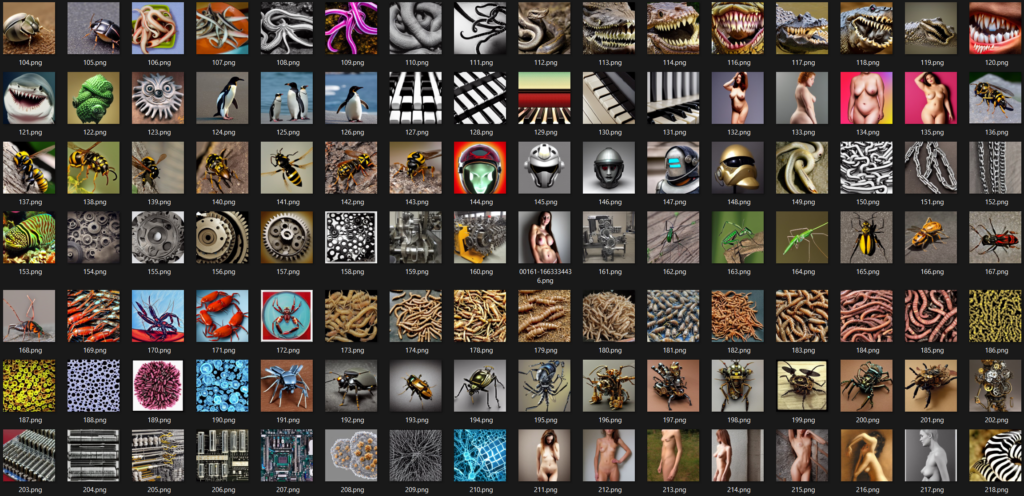
For some reason, Stable Diffusion finds one nipple per breast unstable or offensive and usually goes for two or none at all. That is why I also added some nudes of real people, hoping they won’t find out and sue me for my bottom Euro. Or maybe do sue me, thereby making me famous. Nonetheless, the erotic aspect of JunkBlender cannot be denied. Usually, a few unambiguous body parts or skin-colored patches are enough to spur the imagination. Of course, you could simply run the script using your own SFW images as input.
Oh yes, and there is a bug I did not manage to fix yet, making a considerable number of collages pitch black. Instead of fixing it, I automatically identified and deleted these black images. Probably unrelated, it also took me some time to figure out that a black image should be the foundation of every collage because otherwise, they would turn out semi-transparent and therefore appear darker. Also, the algorithm only supports square images and crops all input images that aren’t square. Anyway, I am fine with that because I only use it for Instagram and album covers.
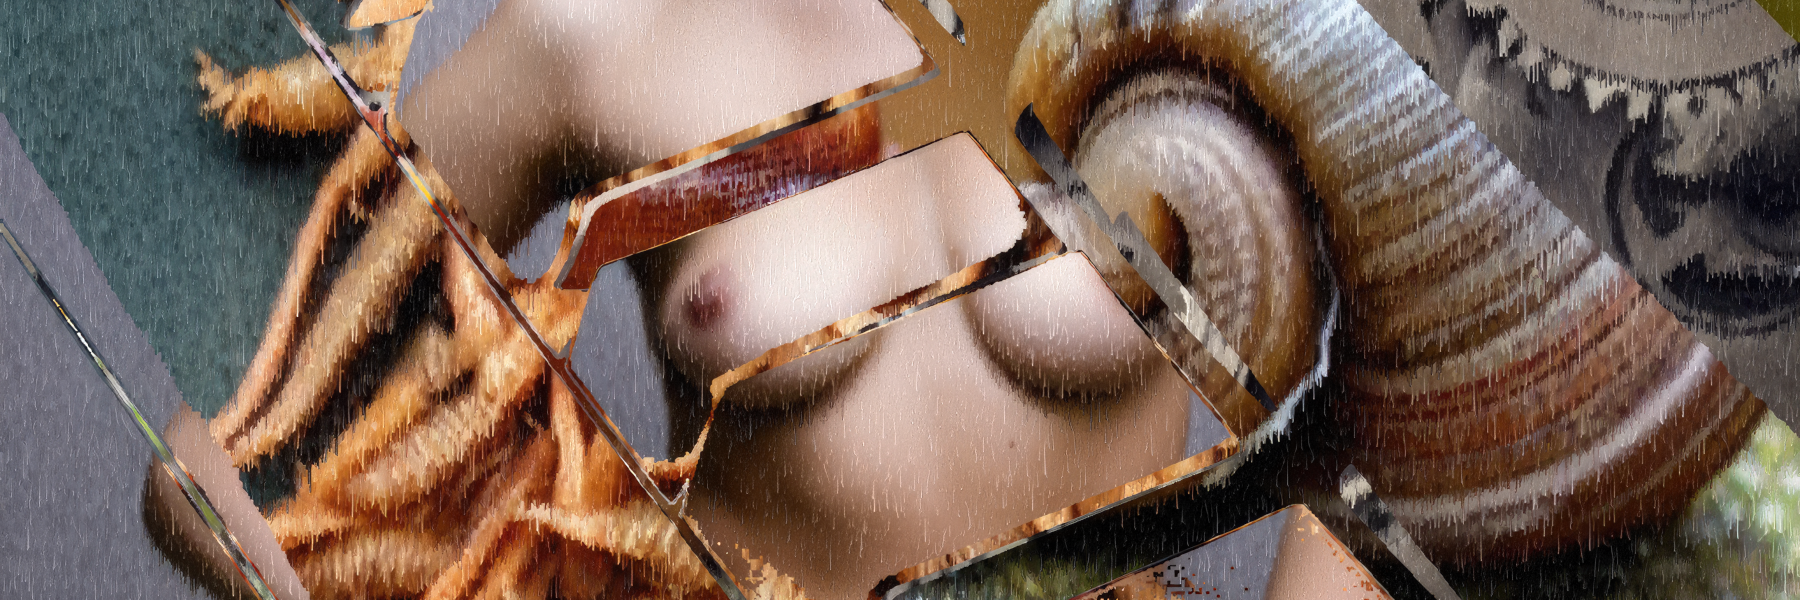
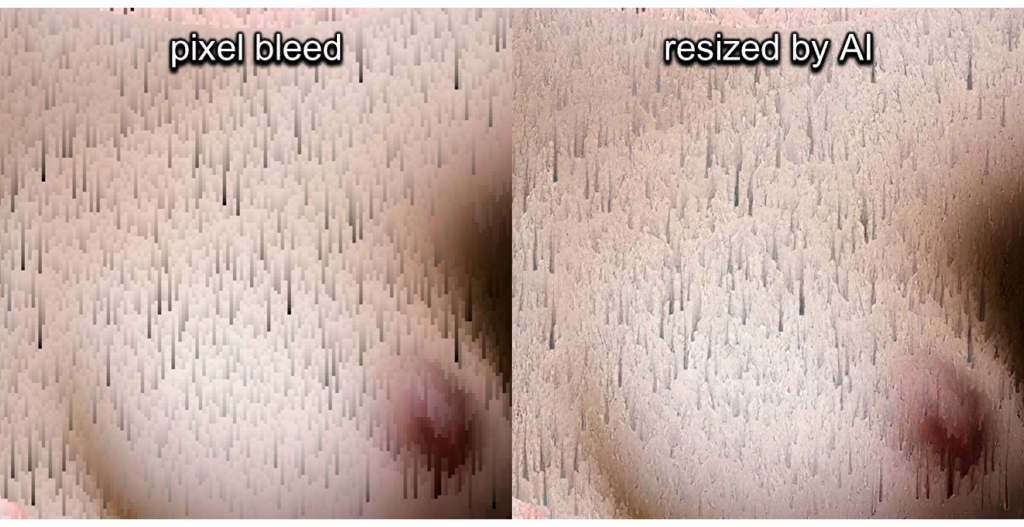
To reduce computation time down to about two seconds per collage, I worked with a resolution of only 1 MP. Afterward, I used Topaz AI to upscale the cherry-picked collages to 16 MP. A positive side effect of the AI resizing was that the straight, boxy pixel bleed lines were smoothed out, looking more like flaky shark skin afterward. Refer to the boobs below to see the effect at 7x zoom.
Naturally, a large portion of the collages turn out just as trashy as what they were fed with. I estimate the number of useful images to be 5 % or less, so the algorithm requires a certain amount of curation time. This is unsurprising due to the high degree of randomness involved, which reminds me of my synthesizer ADME. The more combinations I thought I had already seen, the more collages I discarded. But technically, every image could become a mask, no image is too bad to fill in some small patch just the right way, and the best collage I will have seen so far is always right around the corner.
Feel free to browse through the gallery below to see some of my favorite collages.
Leave a Reply